Month: September 2020

Wedding Flowers… 12 Years Later

We’ve been married for more than 12 years now… wow time flies!

We got married when we were very young and money was tight. This led to most of the wedding being DIY. I’ve always loved to figure out how to make things myself, so our DIY wedding was no big deal.

One of the things that I never did was look into how to store my gown or my flowers. Heck… the cake top ended up in the freezer like tradition calls for, and we totally messed that one up. It was disgusting.

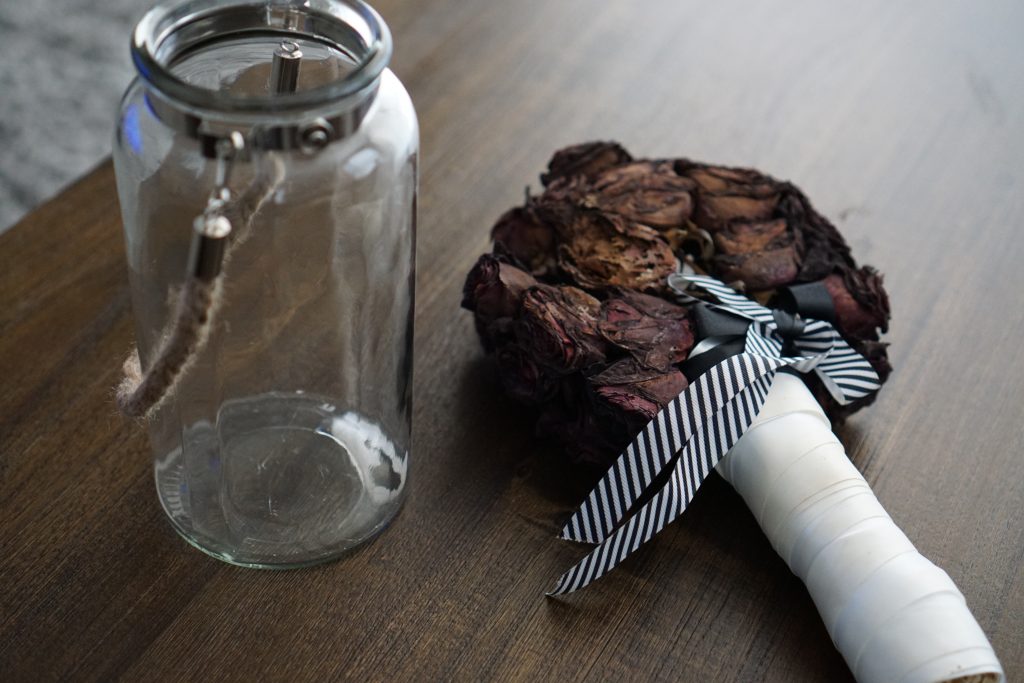
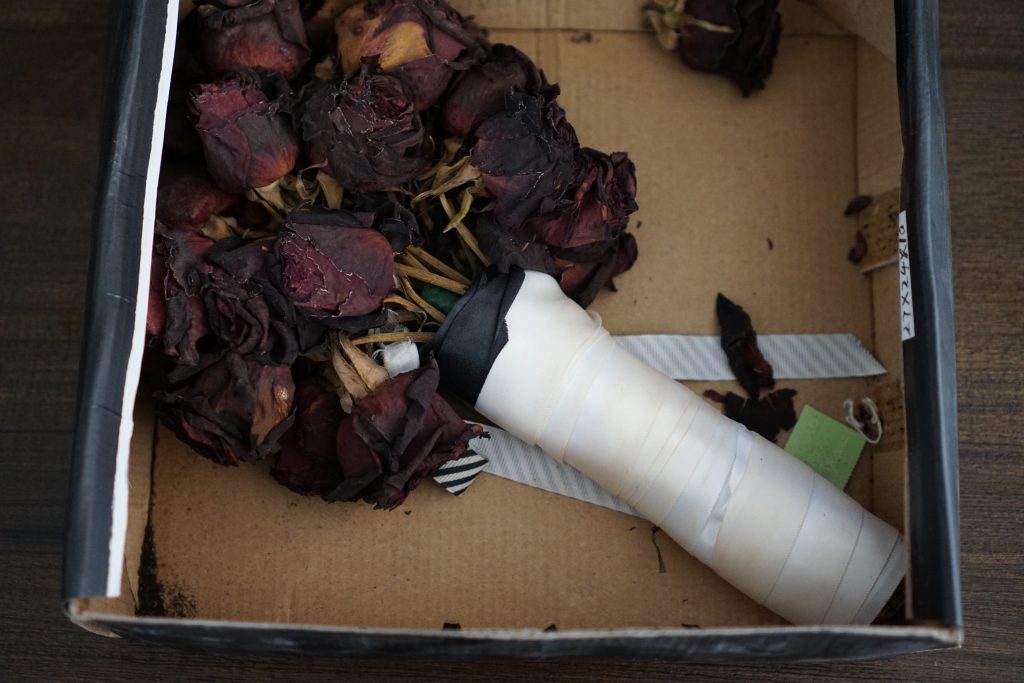
While we were packing for our move back to NM, I inevitably came across my “stored” flowers. They were forgotten about in a shoe box. I seriously considered throwing them away. In these 12 years, we’ve moved a total of 13 times. These flowers have survived all of that! They deserved more than the trash can. So I decided that I was going to figure out what to do with them by the end of the year.

I came a across a photo on Pinterest of a jar with dried flowers in it. I thought that would be perfect for this. They can be displayed on a shelf without looking too wedding-y.

What I used:

  • Glass Jar – large enough to comfortably fit the flowers without breaking them
  • Scissors
  • Hairspray
  • Plastic Wrap
  • Dried roses/flowers of your choice

Let’s do this!

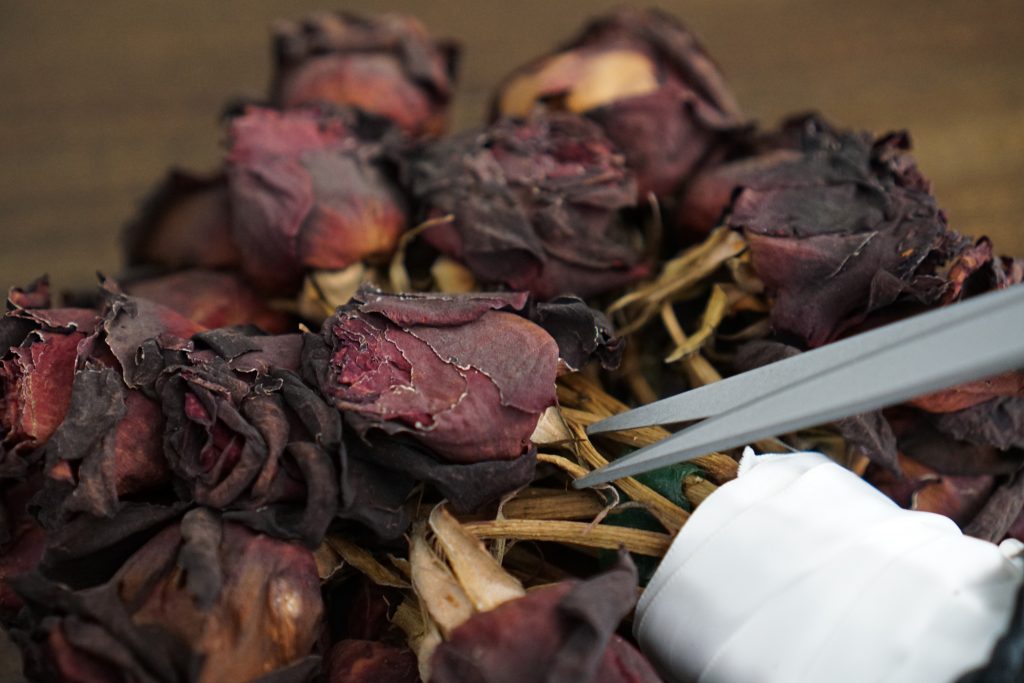
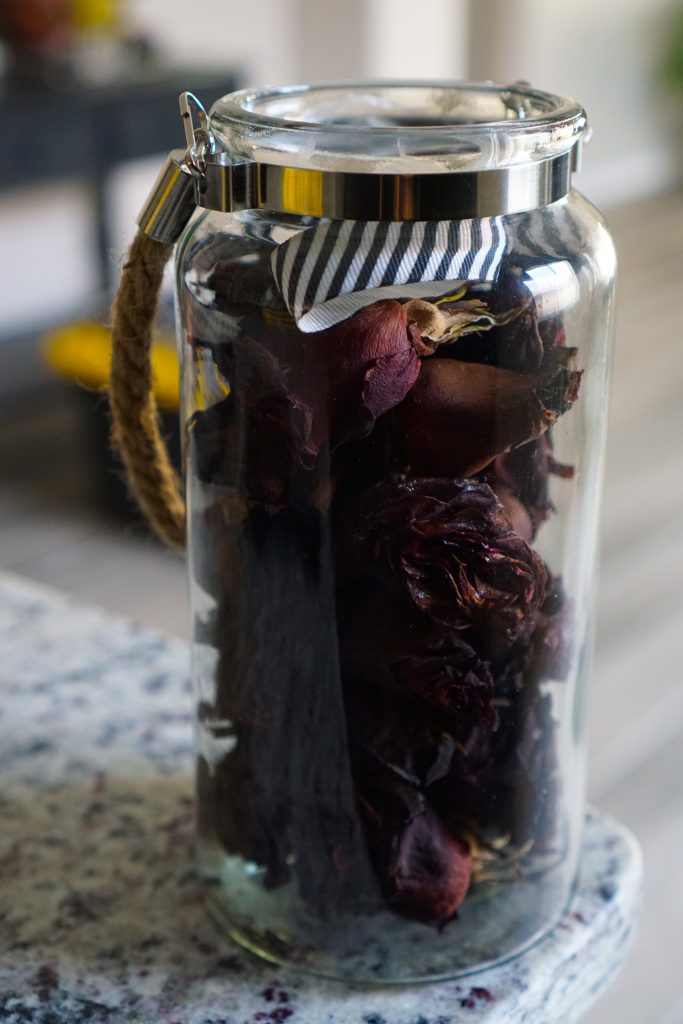
I carefully cut the stems off and picked the roses that were still intact and set them apart. Once that was done, I lightly sprayed them with hairspray to help them stay intact.

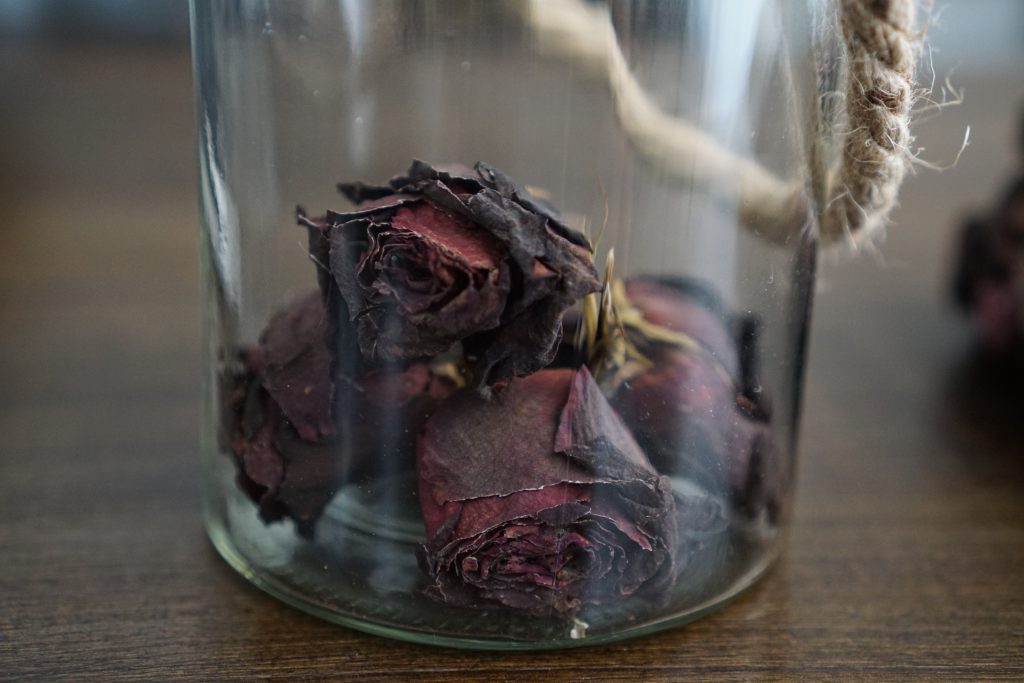
Then I carefully placed each rose inside the jar, making sure I didn’t leave any obvious empty space between each rose.

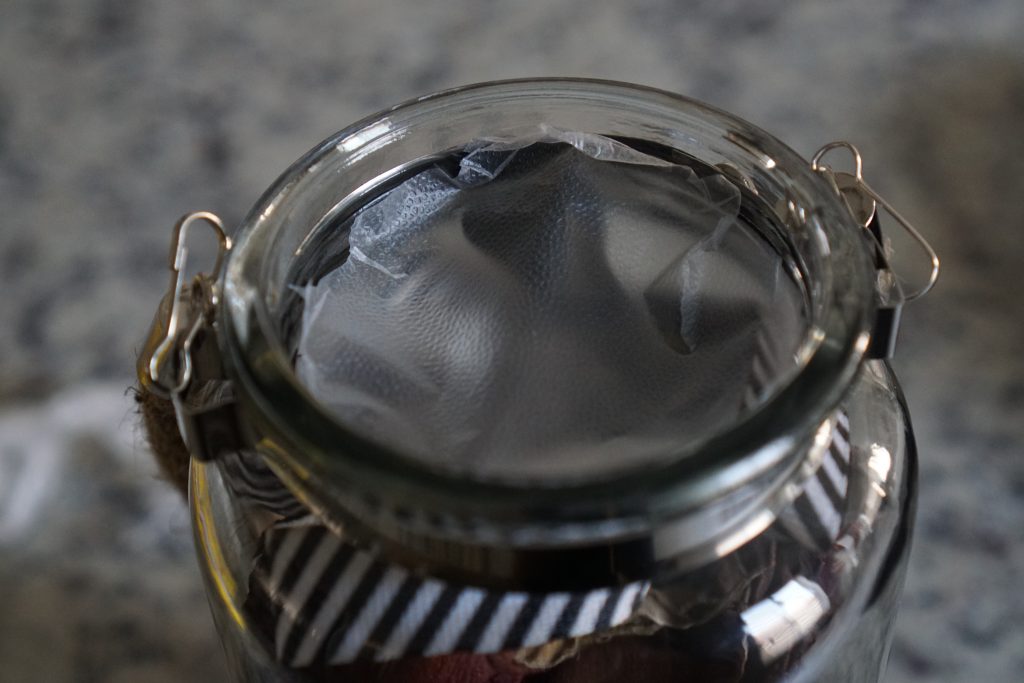
Once I was done placing the roses inside the jar, I cut a piece of plastic wrap in the shape of the opening of the jar. This is to keep most of the dust off of the roses. I didn’t use a tight seal because I was afraid of what might happen if the flowers don’t have any air flow.

And there you go! Better than in a shoebox!

I placed the jar on my shelf in the living room, and I’m really happy they’re there.

-V
Green Chile Picking

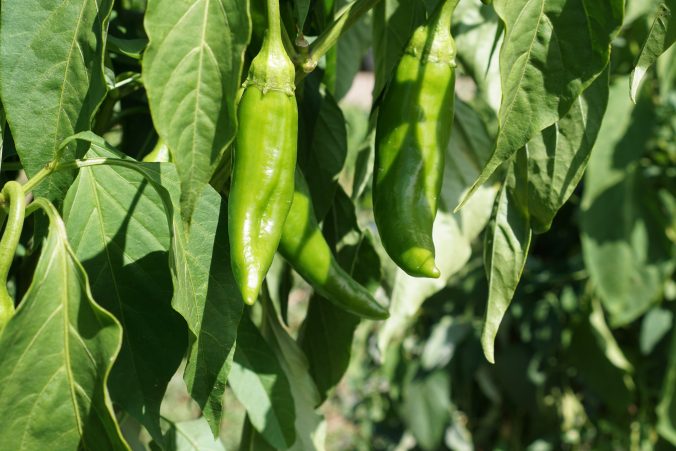
All things fall are upon us! For us New Mexicans, that means green chile season… YUM!

One of the things that we promised ourselves when we moved back was to go out and explore this wonderful state more. The saying, “you don’t know what you have until it’s gone” holds very true here. Moving to Austin, we encountered quite a bit of people that would vacation in NM… like come here… on purpose. I kid, of course. New Mexico is a beautiful state. For us, growing up here always felt like we were stuck. That’s why we always wanted to leave. Well, that’s probably why they call this the “land of entrapment”, because somehow it managed to finagle us back. And we’re totally ok with it.

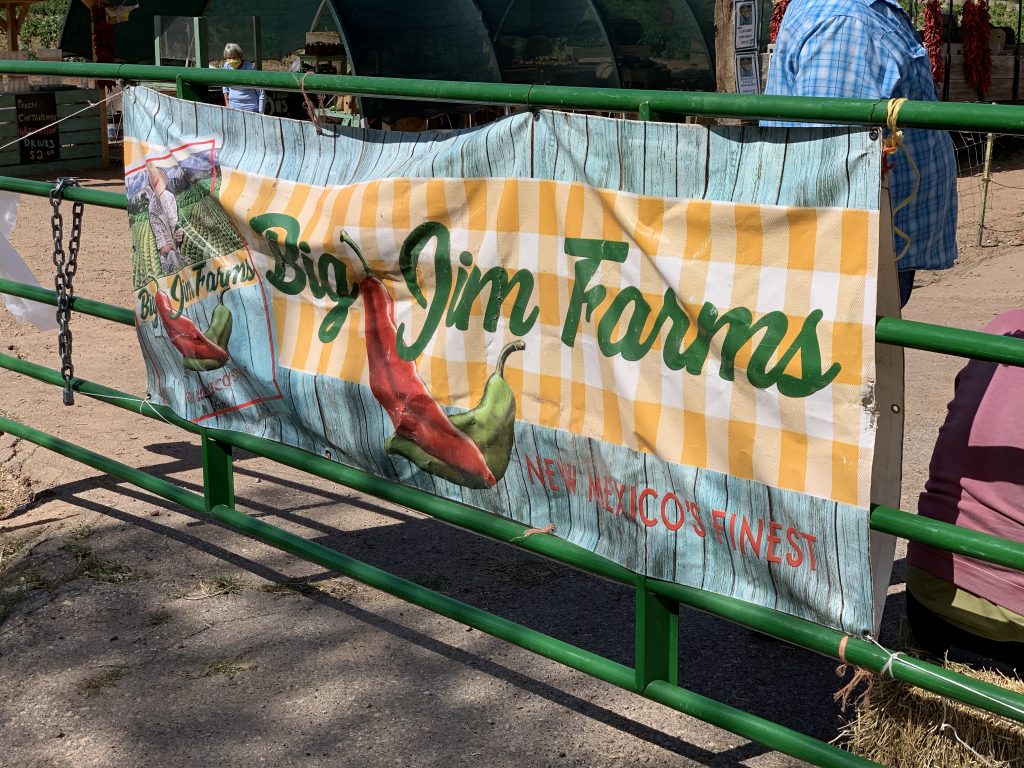
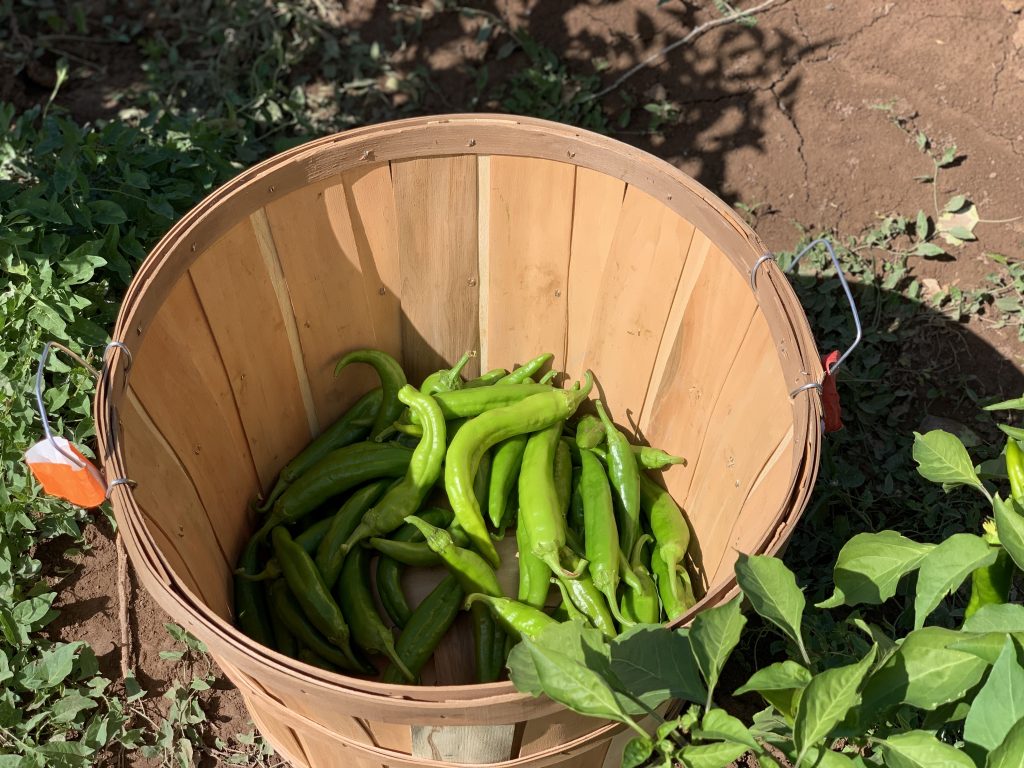
This weekend we decided to pick our own green chile. We never really knew you could do that! When we saw an advertisement on the news for Big Jim Farms we were all for it.

The farm consists of 9 acres. It is free to get in, and you only pay for the chile you pick or the fresh produce they sell in their farmers market.

They have all the chile sectioned off from mild to extra hot. We went straight for the extra hot.

We found that the trick to finding the biggest chiles was to head straight to the back of the farm and skip the first few yards of each row.

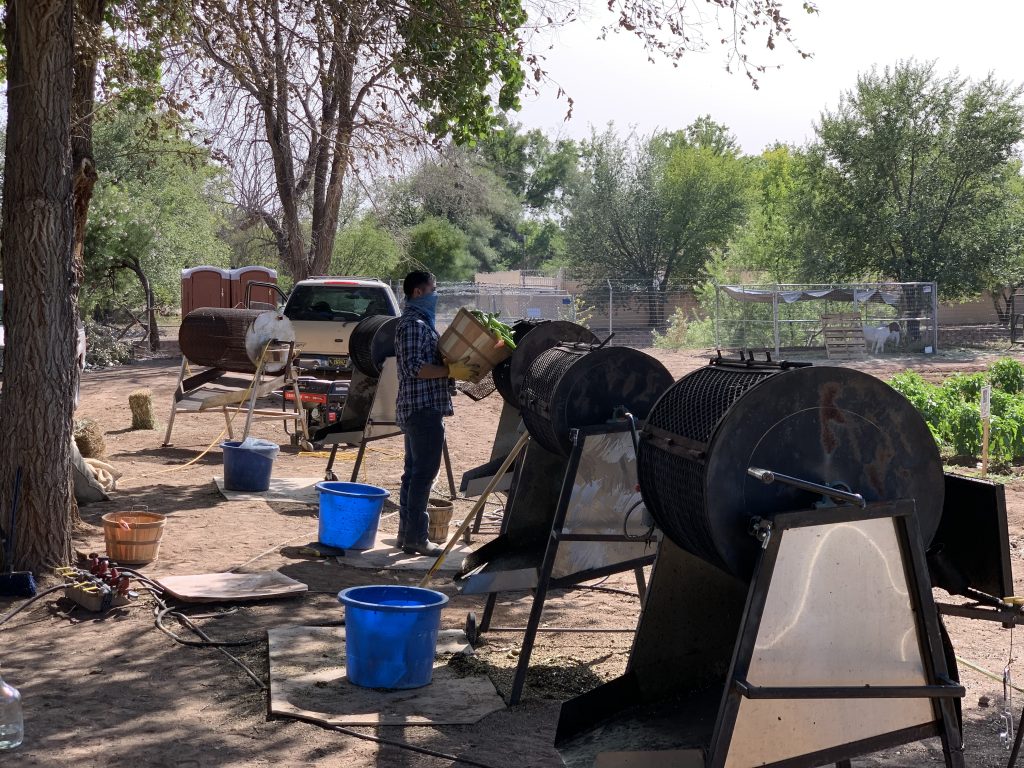
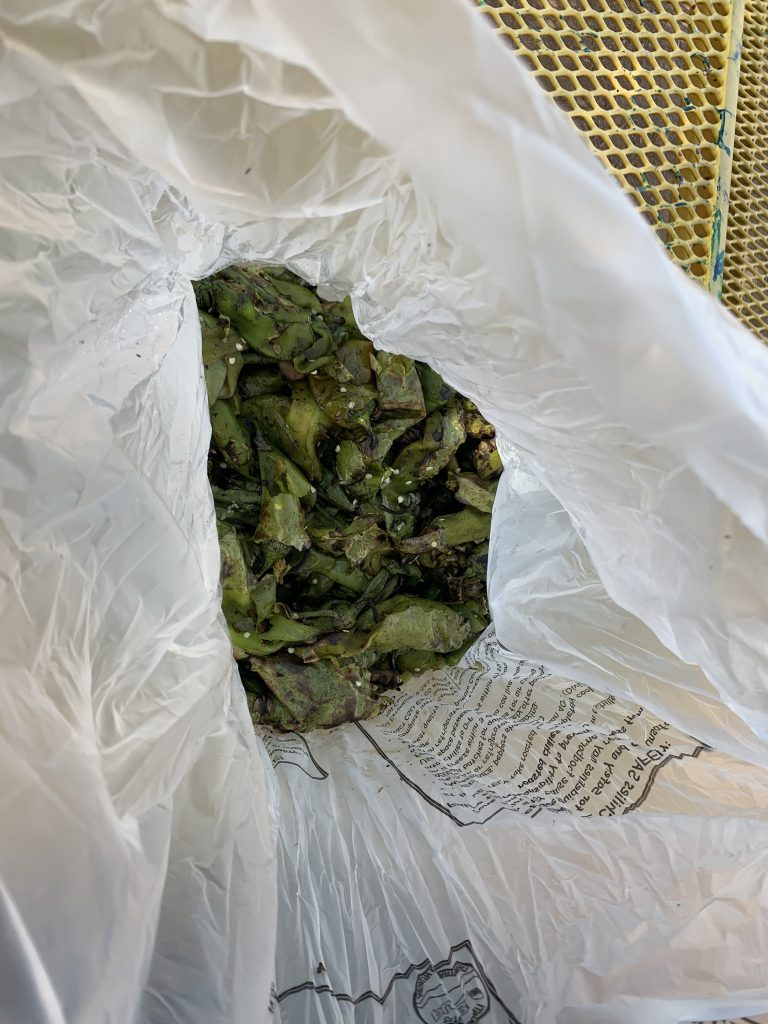
After you are finished picking, you can get your chile roasted for $5.

The experience was awesome. My mom and grandma went with us and they had a blast too. We will definitely be doing this again next year.

DIY Shelves

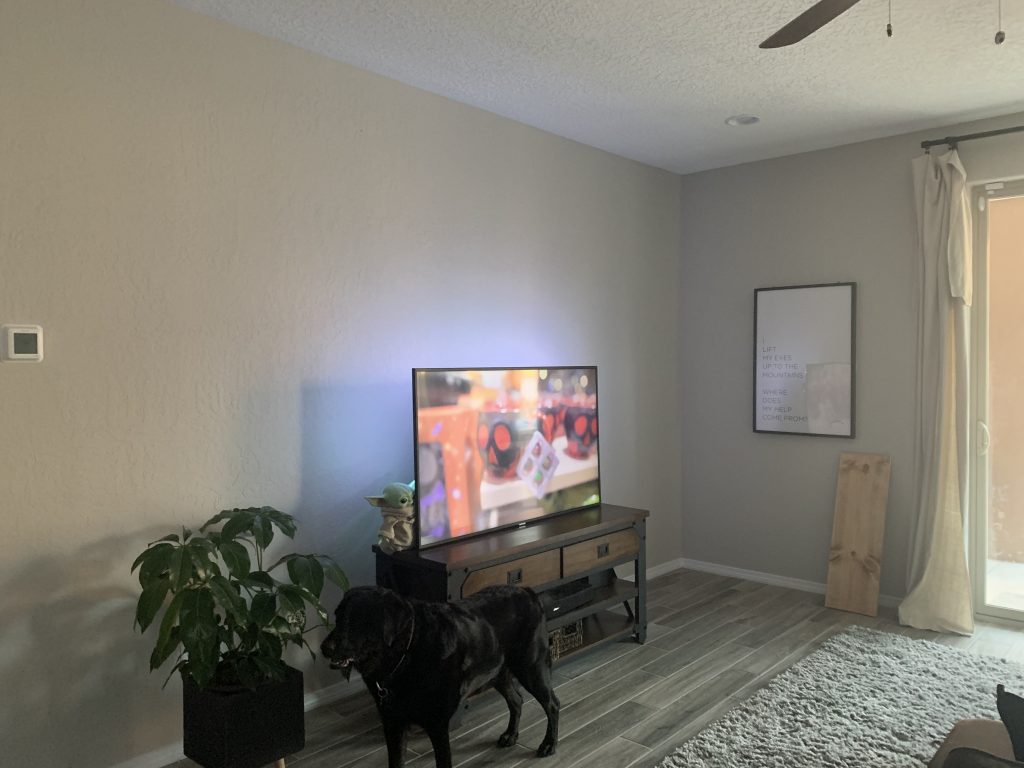
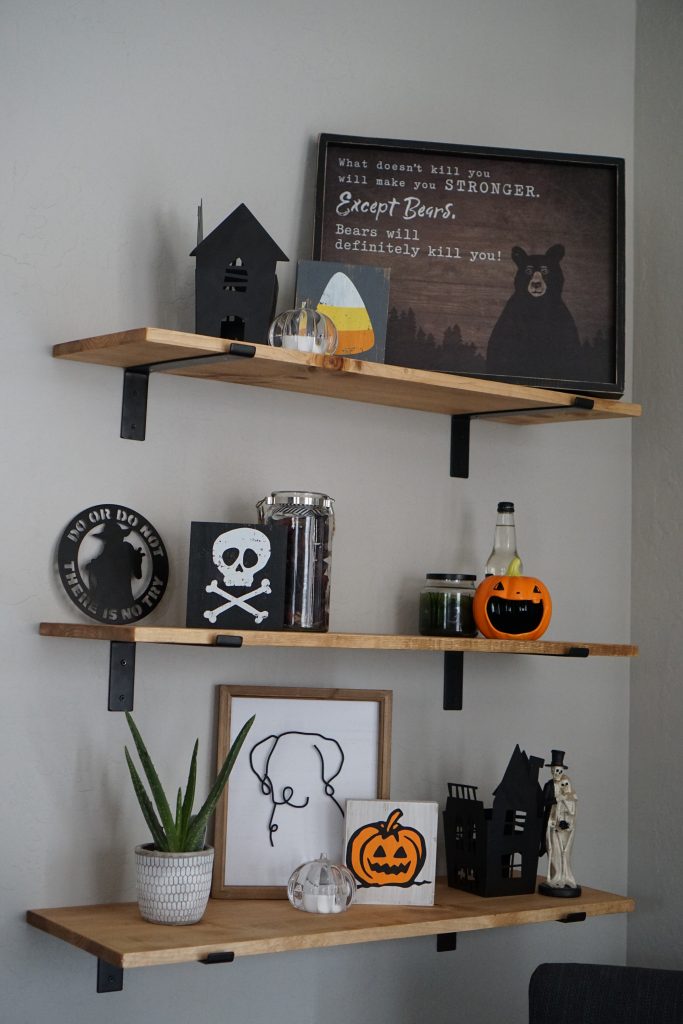
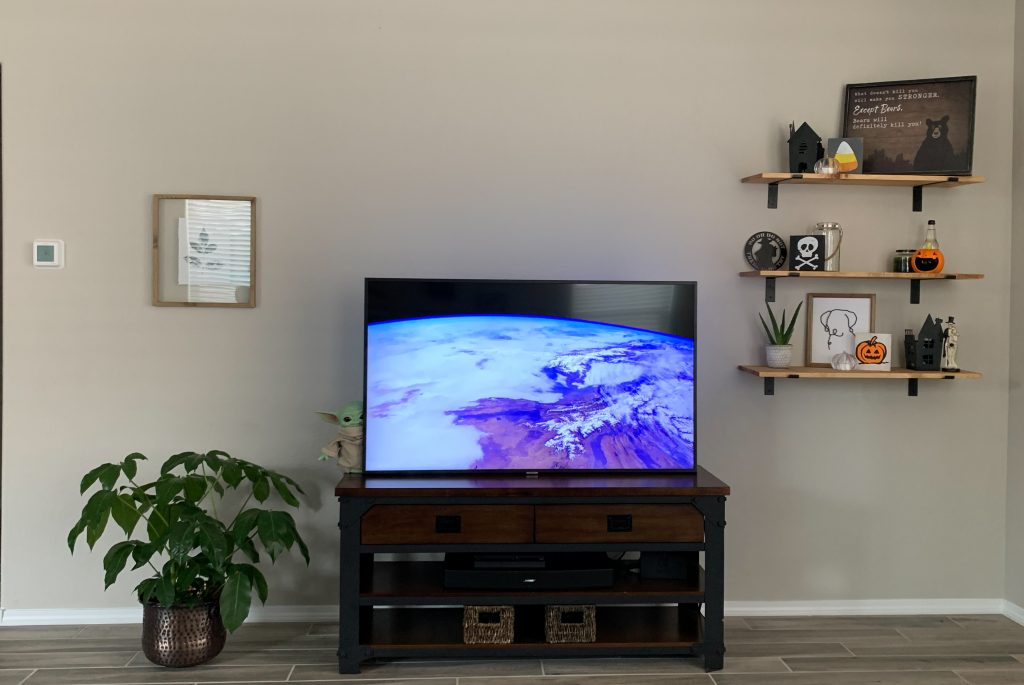
Our TV wall was looking very bare. I was looking at buying bookshelves for each side, but being on a tight budget, that wasn’t happening any time soon. I was browsing Hobby Lobby one day when I saw that their metal brackets were 50% off that week. I grabbed the one bracket they had and drove to another store in hopes that they had 5 more. Thankfully I found the motherload of brackets at the next store and got the 5 other brackets that I needed.

After a quick trip to the Home Depot, I had the materials I needed for my shelf.

Materials:

Tools:

  • Sander/Sand Paper
  • Level
  • Stud Finder
  • Drill
  • Saw

We cut the 6 foot boards in half at home, sanded and stained them with the Special Walnut wood stain. Then we used the stud finder to help us find studs, which in turn made the decision of where the shelves were going to go.

After the shelves were put in place on the brackets, we secured the boards to the bracket with a screw at the bottom.

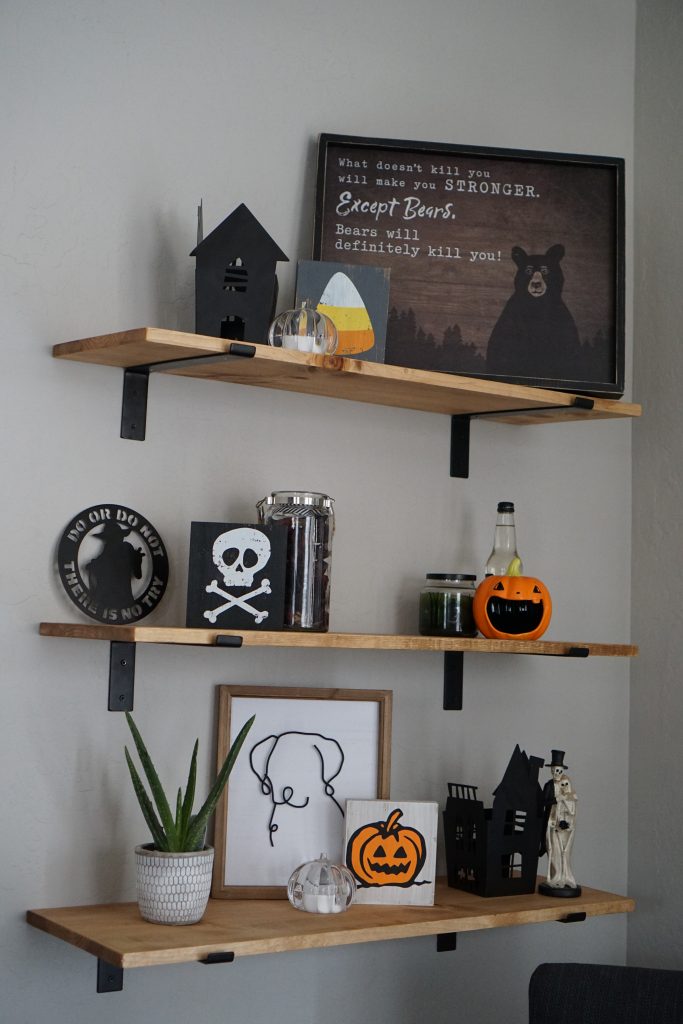
Result

We plan on hanging the TV sometime in the near future, so the wall isn’t exactly complete yet. But for a total of around $70, this shelf and some Halloween decor makes the living room feel a bit more like home.

-V

© 2024 By Walking Away

Theme by Anders NorenUp ↑